West Elm Modern Farmhouse Dining Table
West Elm Inspired Dining Table
Disclaimer: This post may contain affiliate links, meaning, if you click through and make a purchase we may earn a commission. This is at no additional cost to you. View our full-disclosure here.
Hey friends, I hope you enjoyed your weekend and had a beautiful Mother's Day! My mom is nothing short of amazing and has always been such an inspiration for me, not to mention my #1 cheerleader. I remember watching her create a bookcase out of an old waterbed frame when I was in elementary school, restore dressers for our bedrooms in middle school, and she had a toolbox twice my size in high school.
She wasn't afraid of power tools or getting her hands dirty and I am so proud to call her mom. Over the weekend I helped her set up a simple website for her recent invention, an Avocado Seed Planter. There is some more tweaking/info to be added, but you can check it out here. Isn't she awesome?

Speaking of inspiration, I am soooo excited to have recently teamed up with 5 super creative and amazing bloggers to bring you a fun summer knock-off series! Every second Monday of the month, from now until August, we will each share a knock off inspired DIY project. This month our store inspiration comes from West Elm. I LOVE West Elm and if money was no object you betcha I'd be ordering from them more often. Of course, I'm always up for a DIY challenge and this one was so much fun. Did you ever see my West Elm Inspired Storage Rail System?
So here it is, round one of Knock Out Knock-Offs! First I will share my West Elm Knock Off, a wooden truss dining table, but be sure to hop on over to check out the other projects at the bottom of this post.
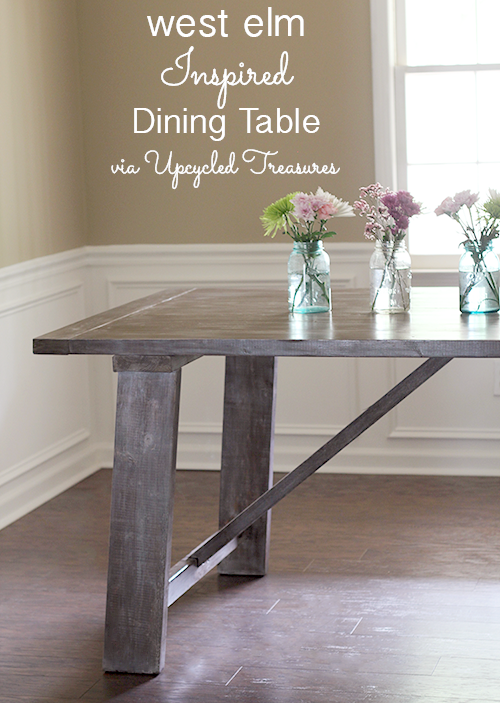
West Elm Inspired Dining Table
I have to say that this west elm inspired dining table wouldn't have been built if it wasn't for the super awesome plans via The Design Confidential. She shares great furniture building plans and just so happens to include the free plans for this wooden truss table, yay! Eric and I did run into a couple of snags and also had to tweak it a bit to fit our space, but her plans are pretty straight forward and easy to follow. I won't go into all the steps since you can get them here but will share some before, during and after photos, along with what we changed.
Here is my inspiration, the West Elm Wooden Truss Dining Table which comes with a price tag of $1,199, just a tad out of our budget. Gorgeous, isn't it?

Ever since we moved into the {rental} house a couple of months ago, our dining room has pretty much been used for storage, so I'm excited to finally have our West Elm inspired dining table in there and make it a functional space.
Before we got started on the building we made a trip to Home Depot for the supplies. Of course, we have learned over the past few projects that using straight boards makes everything sooooo much easier.
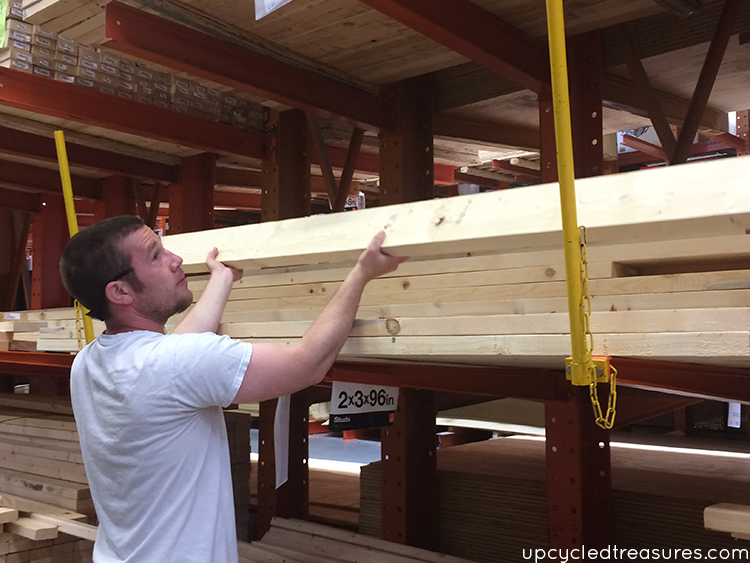
You may recall seeing one of the photos below on instagram last weekend. The supplies ran us about $75, not too shabby for a solid wood dining table, especially when compared to the inspiration table at $1,199, yikes!
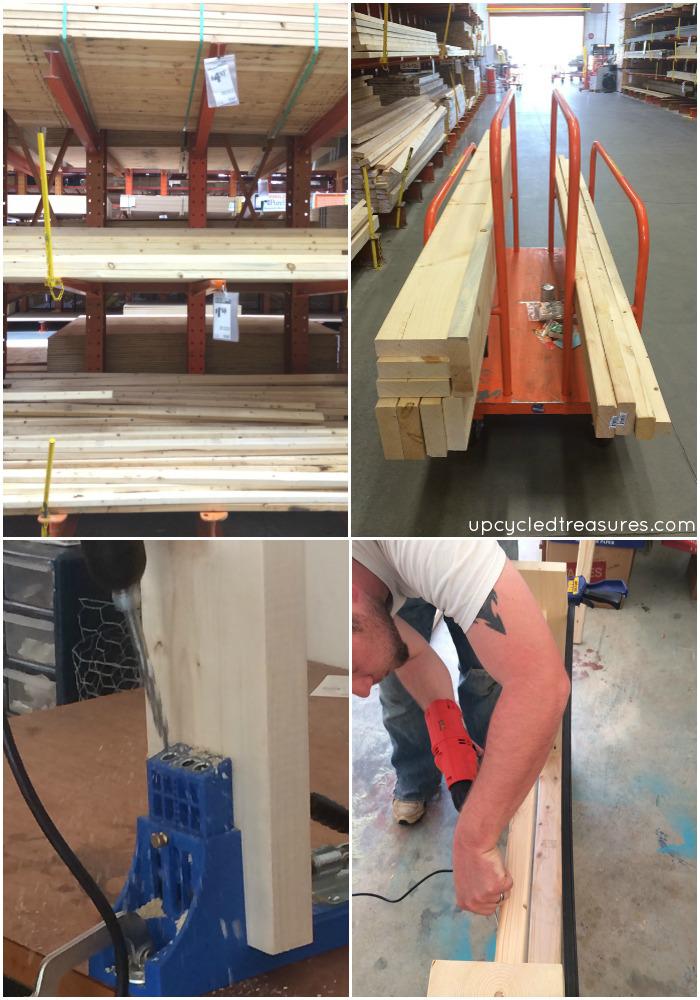
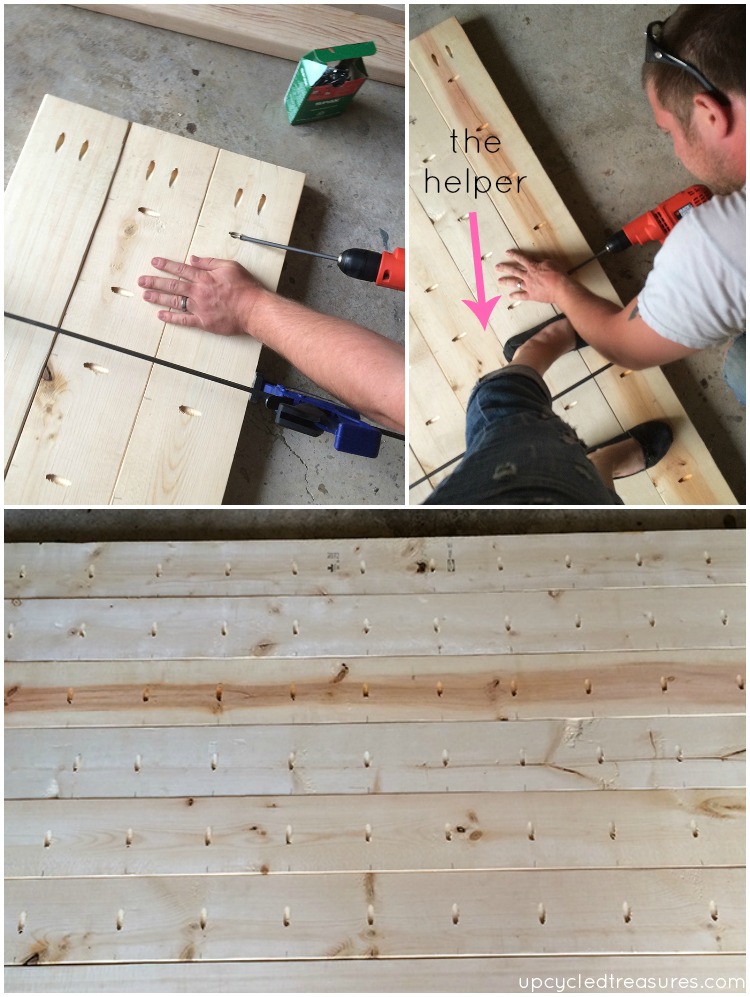
I have mentioned it before but if you plan on building furniture you have got to get the Kreg Jig, that thing is AH-MAZING!!! It's definitely one of Eric's favorite tools and makes building so much easier.
Although he did do most of the building I was there to help every step of the way, I love it when we work in the garage together.
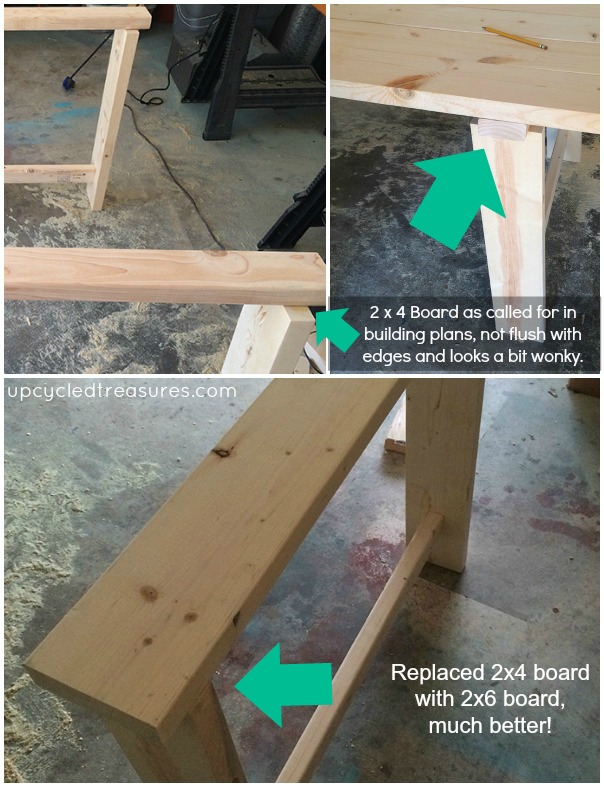
As far as the first tweak of the building plans, it called for using a 2×4 as the braces below the tabletop, but once we saw what it would look like with the tabletop we didn't really like it since it wasn't flush. So we wound up going back to Home Depot to get another 2×6 board and then reattached it, which looked sooooo much better!
We had also realized that the number of boards the plan called for was short one board. This table is originally meant to be pretty big {fits 8-10 people} but we actually didn't need anything that big so we decided just to cut all the boards down to 67 3/4, which made it 74 3/4 after we added the end pieces.
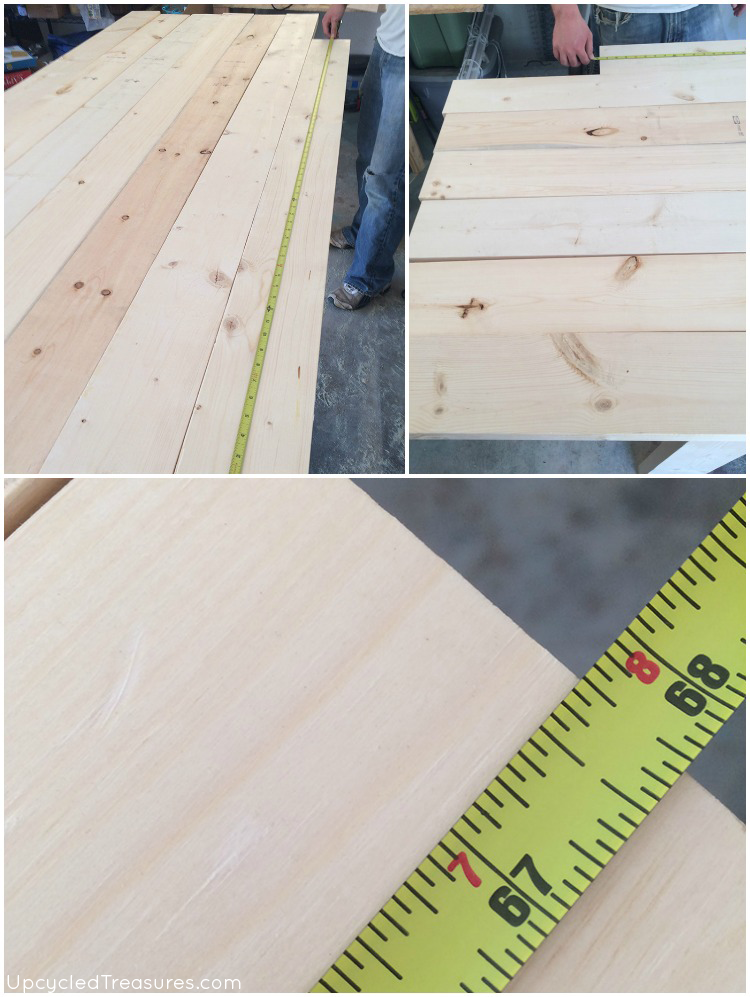
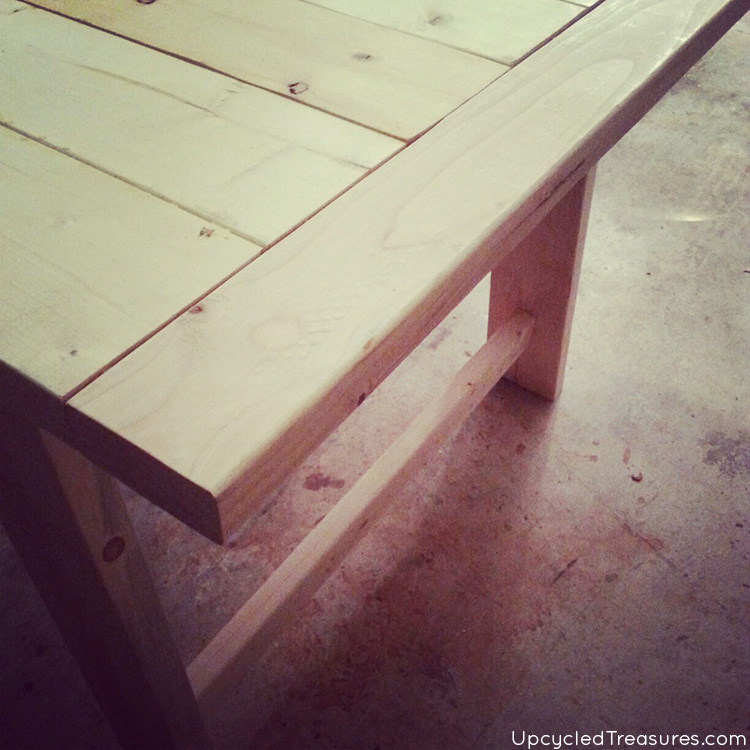
Here we are putting the tabletop together. We made sure to use glue between the boards before attaching them to one another but definitely could have used some more long clamps. Luckily I was there to help, but clamps would have been better, ha. Those are definitely on our list of things to get more of in the future.
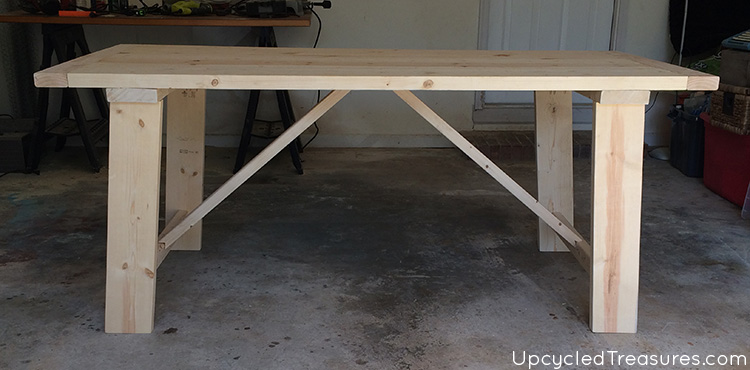
Here is the West Elm inspired dining table all put together, yay!
And I had shared this sneak peek on Instagram:
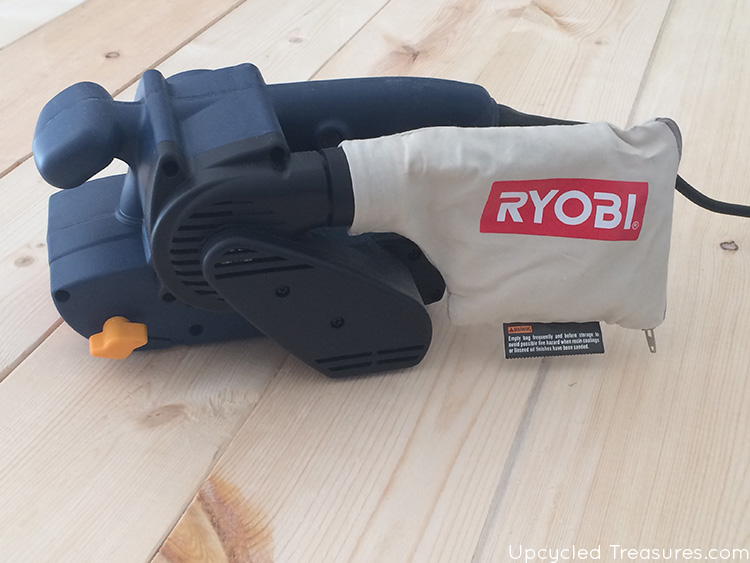
Eric and I have been wanting to pick up a belt sander for some time now, and finally got around to it. Let me just say WOW that thing is powerful! I still can't get over how well it worked, and how much faster it got the job done. It would have been nice to have that baby a few projects ago. I have only used smaller sanders in the past that made my hand feel like it was vibrating the whole time. We went with the Ryobi Belt Sander and it didn't make my arm vibrate, but man does it give you a workout! Totally worth it and it was awesome to be able to get all the boards super flat in a fraction of the time it would have taken otherwise.
There were some cracks in between some of the wood boards on top {more clamps definitely would have helped}, and I originally planned on filling them in with clear acrylic silicone since I had read about that online but wound up just using wood glue and leftover sanding dust. Although the wood glue said it was stainable and paintable, the residue that was leftover {despite thinking I got it all off} stained differently and I wasn't liking how it looked. In fact, I may have freaked out a little. I knew all along that I would stain the wood and then use a whitewash on top, and that the stain wouldn't have to be perfect, but was still a bit worried. I did the same technique on a planked style coffee table last year.
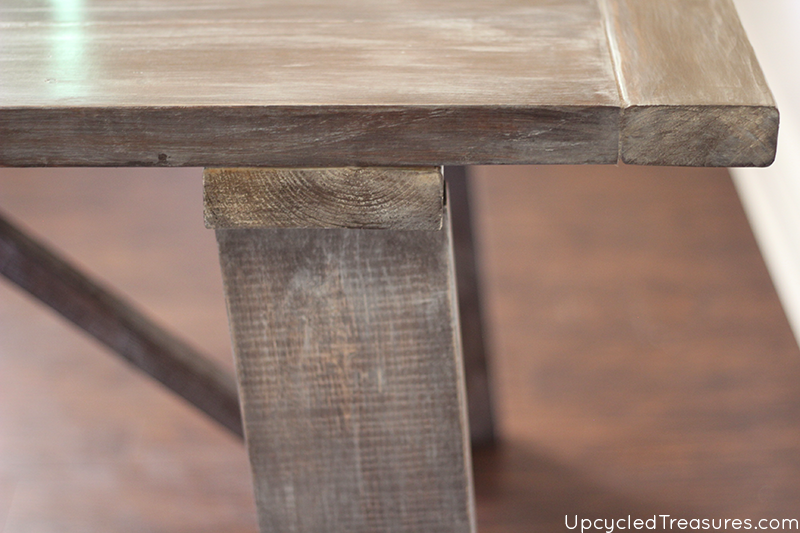
So I ended up going over the tea stain with a dark walnut stain {the same color we used on the DIY garden bench}, which didn't help much. I wanted the table to end up looking like older, weathered wood in the end but was so nervous that all that hard work would be ruined. Luckily the whitewash definitely helped those marks blend in. I actually did a whitewash {50% water/50% white paint that I brushed on and then wiped off after about a minute two} then sanded it, then dry brushed some more white paint on. Afterward, I did a little more sanding followed by 2 coats of polyacrylic.
Our West Elm inspired dining table is by no means perfect, but I still LOVE how it turned out and get excited every time I pass the dining room. One project down, many more to go…I think a sitting bench and chairs will be next. And I also have another DIY rug on my list, amongst other things…
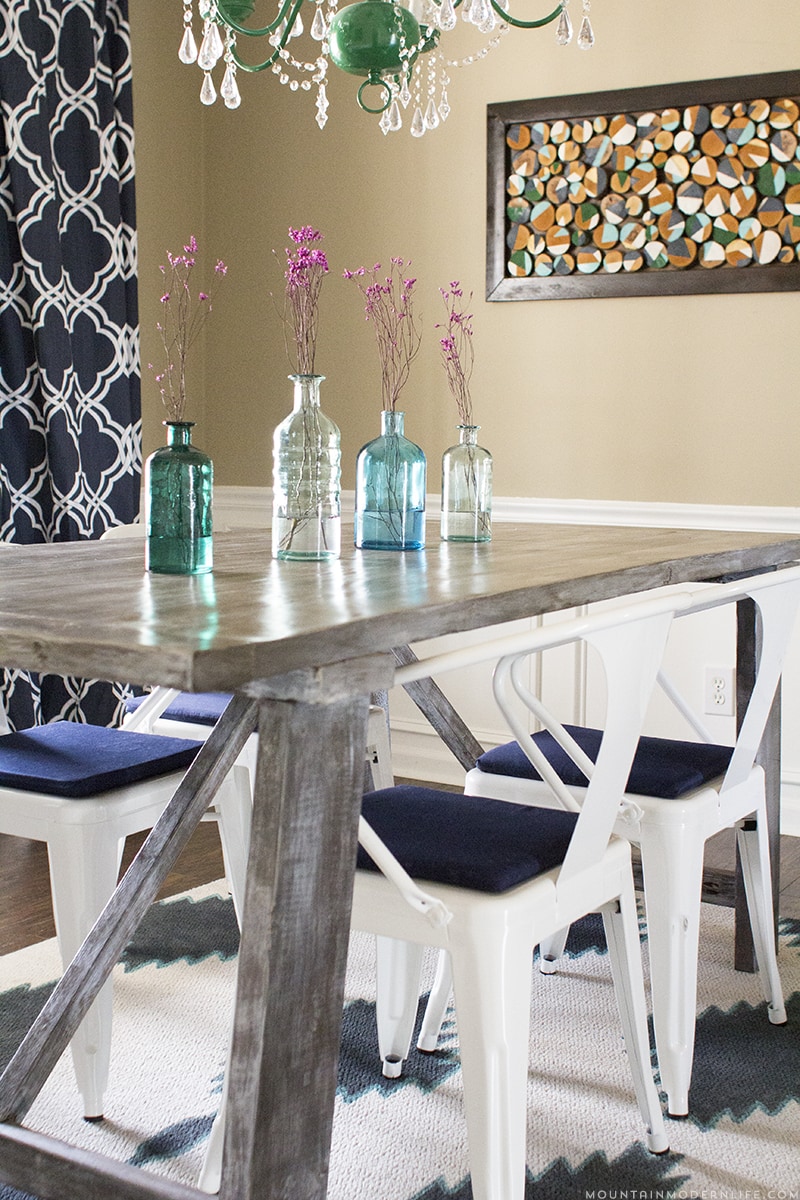
Here are some final photos. I know it's not as light as the West Elm version but still think it looks so pretty. What do you think of our West Elm Inspired Dining Table?
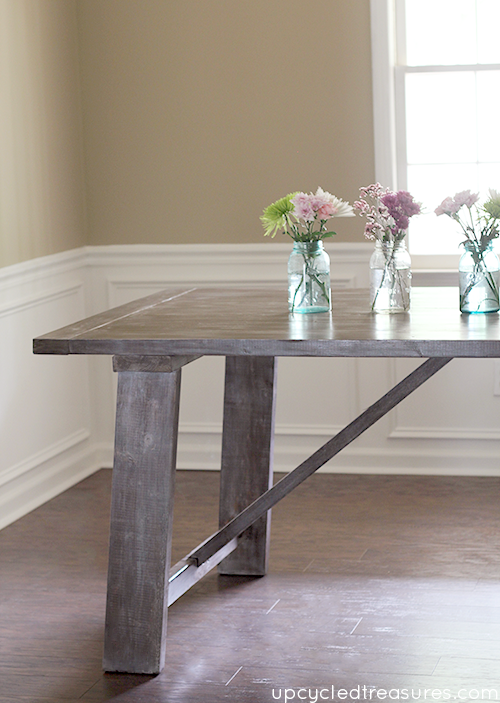
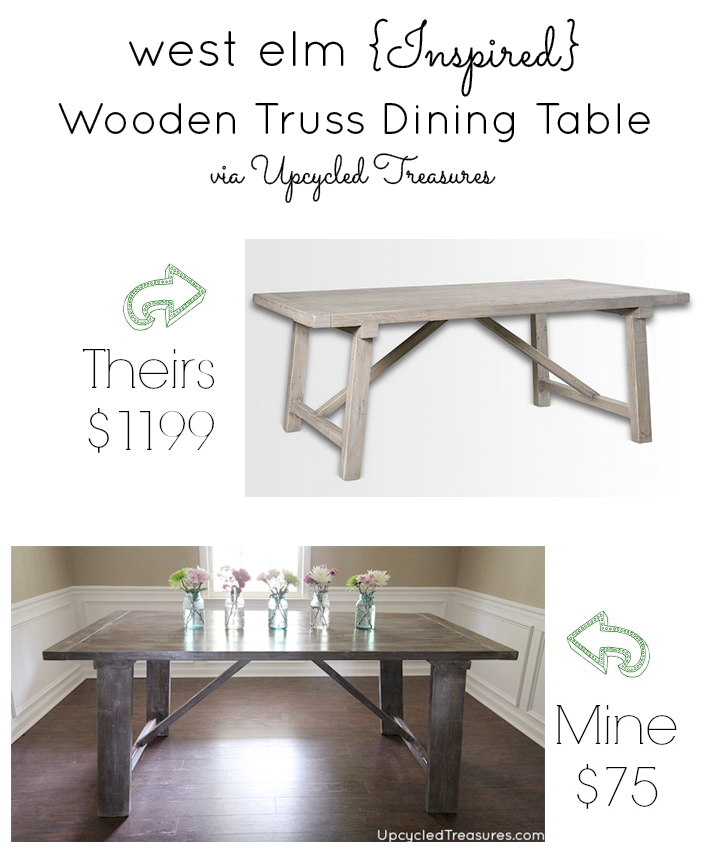
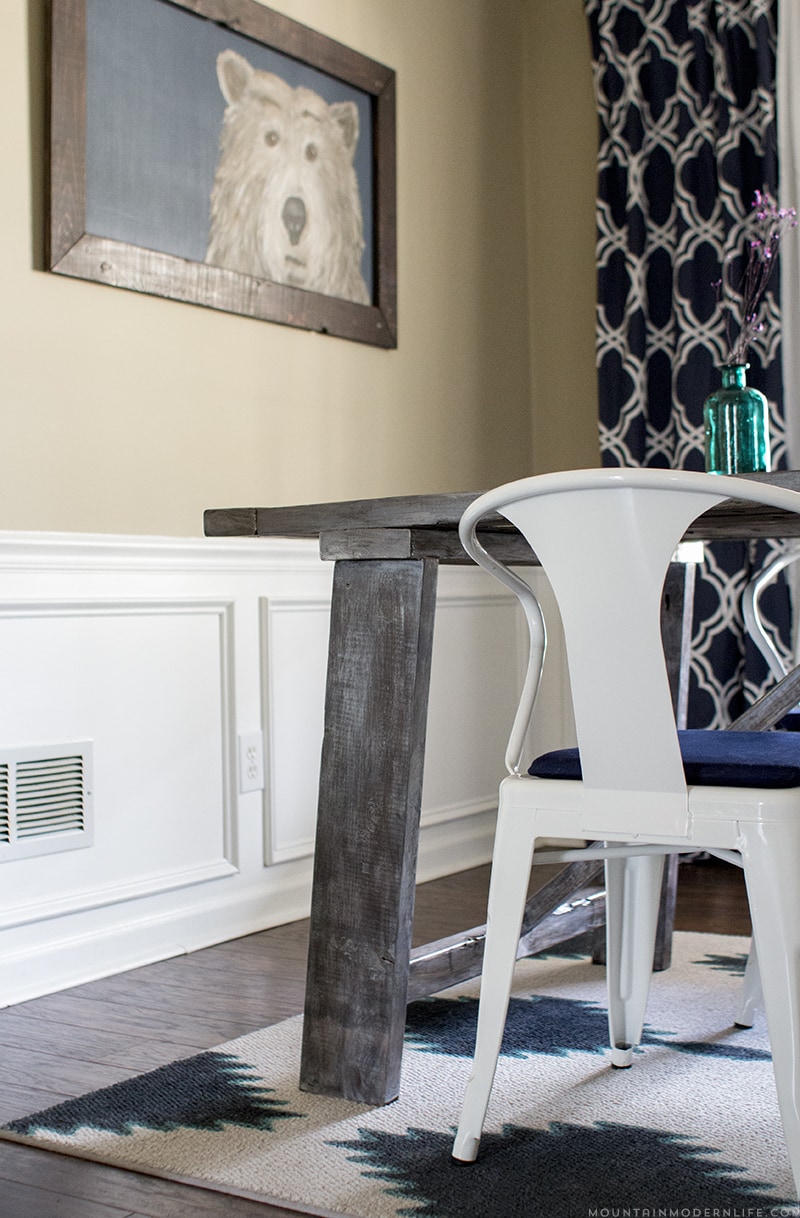
Here is an updated photo of our West Elm inspired dining table in our dining room:

Don't forget to check out the other 5 West Elm knockoff projects via the links below:
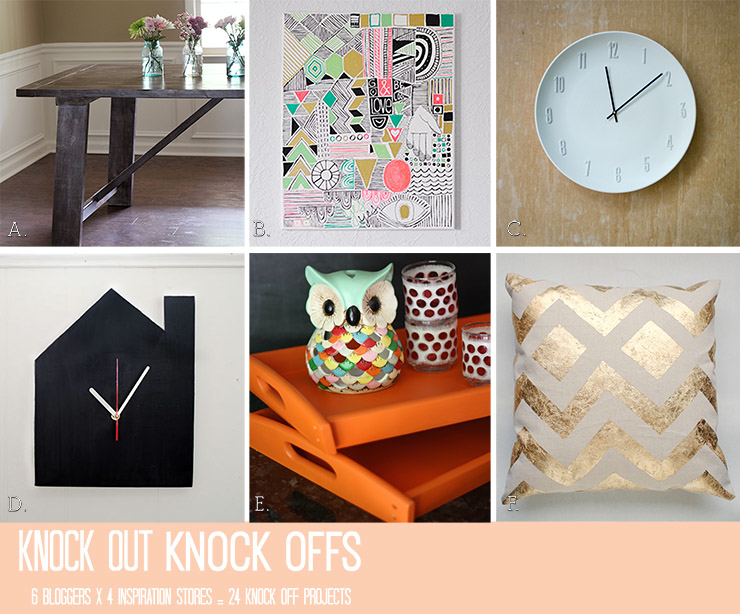
A. Mountain Modern Life / B. Delineate Your Dwelling / C.Bigger Than the Three of Us / D. Brave New Home / E. Designer Trapped in a Lawyer's Body / F. The Gathered Home

West Elm Modern Farmhouse Dining Table
Source: https://mountainmodernlife.com/west-elm-wooden-truss-dining-table-knockoff/

0 komentar:
Posting Komentar